Showing posts with label womens. Show all posts

Friday, August 28, 2015

Lexi-Lou by Vision to Remember Blog Tour


It's not often that I sewn something other than clothes and this purse sure was fun to make! It's a rag quilt style so it sewn up fairly quickly and was a great way to use up some of my most favorite scraps of fabrics. All the fabrics on this bag are scraps I have had on hand saving for something special.  


The purse has two large outside pockets with the "rag quilt" style to them. They are large enough to put in a library book for when we are at the park. Very nice to have! 


The inside has one large pocket on one side and a smaller compartment pocket on the other, great for putting my phone and keys in so they are not lost. The inside is big enough I can put in a change of clothes for the little one and even a snack. It would work out great for a diaper bag even. (Which is really what my purse always looks like anyways, lol)


Be sure to leave a comment on my blog to be entered to win a free pattern. Each blogger on the tour will be choosing one comment from their blog to receive a free pattern from A Vision to remember.
Also, the Lexi-Lou Pattern has been discounted 25% this week! Get yours now on Craftsy or Etsy!

Happy Sewing!!

Sharon 


8/24-  cropped-cbtcover3.jpg
8/25-  B40L-Logo_thumb2
8/26-  better blog picture
8/27-   Blog logoAdventures with Bubba & Bug
8/28- 11800478_422701267916962_2090016111176047274_n &  th_IMG_2526-1-1

Saturday, February 18, 2012

Summer/Spring Top for Mama

 With spring not far away I wanted to make myself some warmer weather tops. I found this fabric at Hobby Lobby, it's hard to tell but it has pin tucks and lace added to it following the grain of the fabric. I thought it would be great for hot weather this summer!

It's another Portfolio top made into a maternity top. I added 3 inches of fabric to the center on the fold for a total of 6" for belly growing room and added 4" to length for coverage.
We are 20 weeks today, half way there!

Happy Sewing!
Sharon

Tuesday, February 14, 2012

A Valentines to Me!

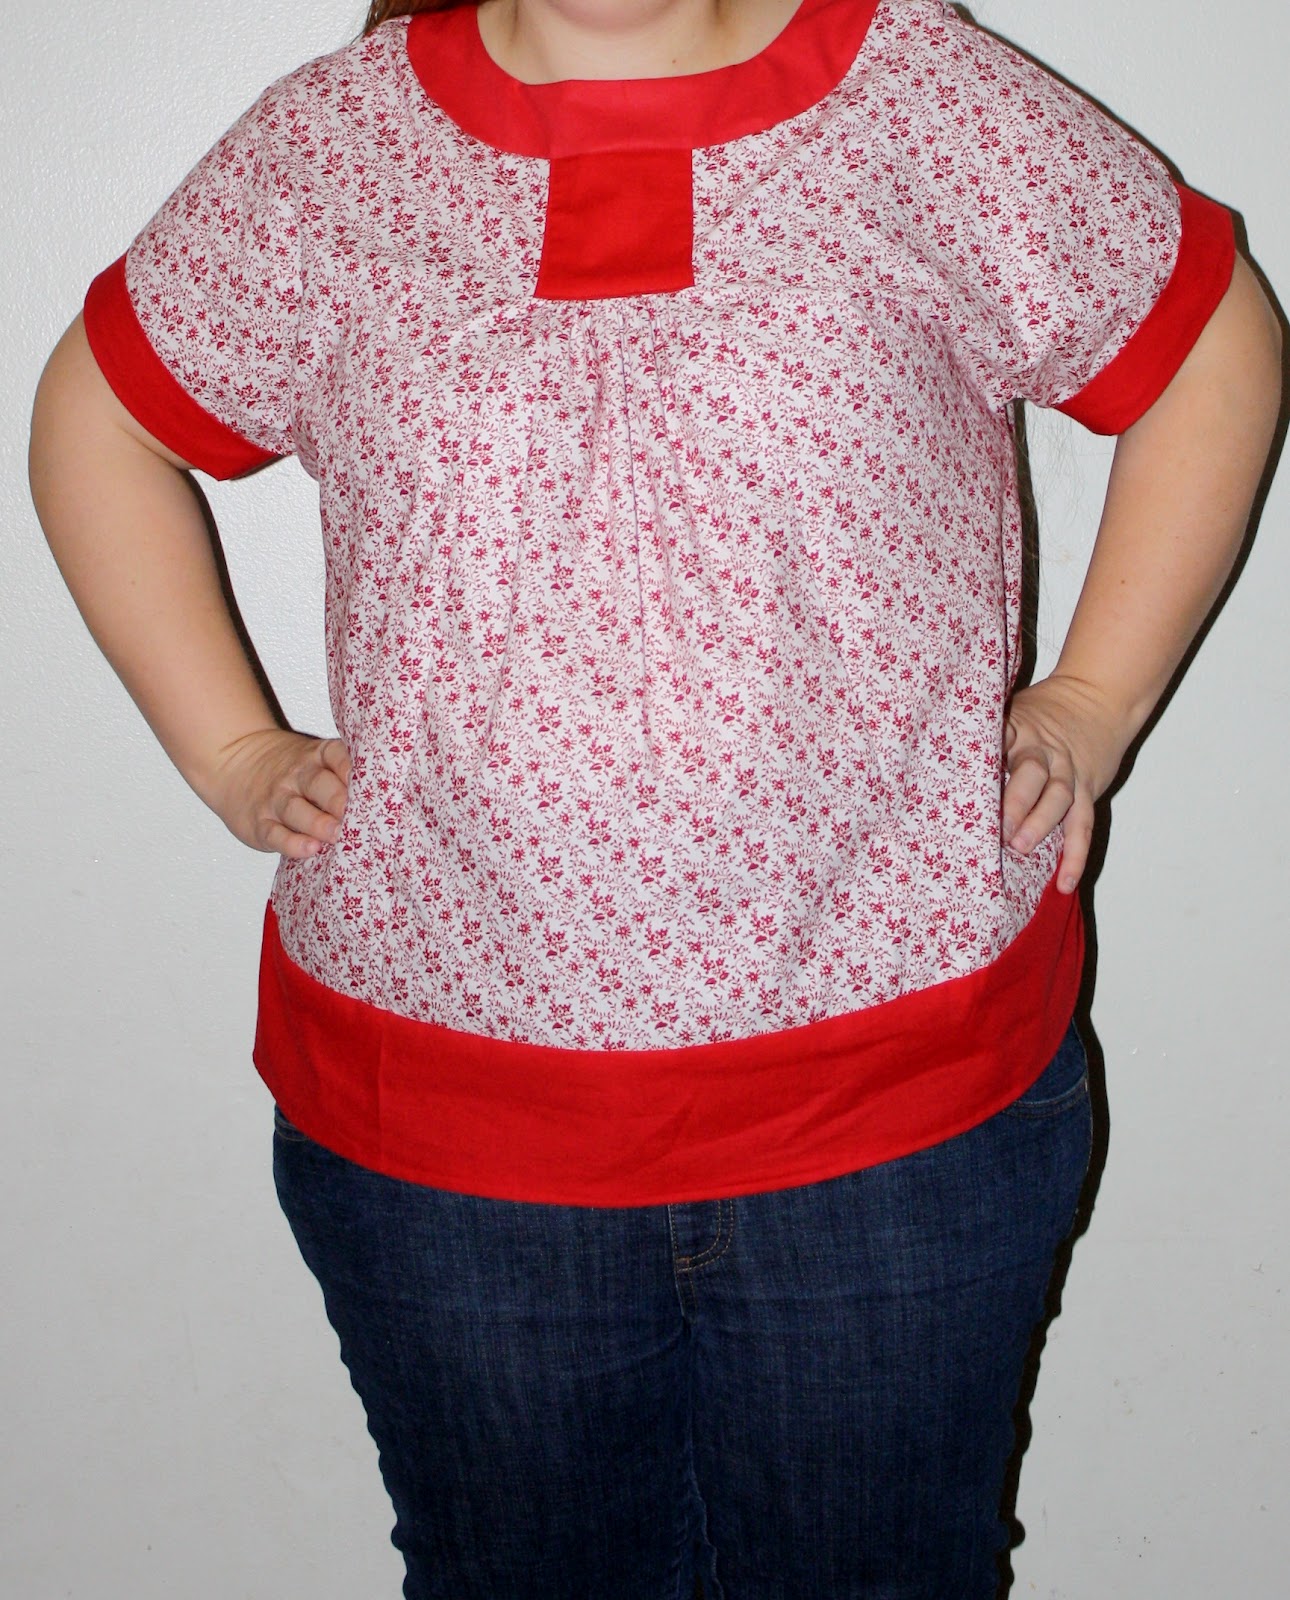
 I have sewn myself my second article of clothing, and just in time for Valentines Day too! (the colors are just right for today!) I made the Lisette Portfolio top altered into a maternity top. Easy peasy too!! All I had to do was add length to the center panel for belly room to grow, 3". A couple of ladies of thought of this, and what a great idea it was too! I did have to add a band at the bottom because I only had a tiny bit of the print fabric, love it!
We are 19 weeks and the ultasound this Friday!

Happy Sewing!!

Sharon

Sunday, October 9, 2011

Miss Mod Top for Me!

Yes I have done it again, I have sewn something for me! 
 I don't like to have pictures of me taken much (need to lose those extra pounds) but I love this top so much that I wanted to share it with you ladies. I used a satin fabric for this top. I love the way this fabric drapes when on! I wanted a color that would work well with different skirts and pants. My hubby even liked this top on me too! A big plus! It not only does it look good but the fit is great too!
If you are wondering what great pattern this is it is the Miss Mod Top from Seamingly Smitten. I am very lucky enough that I was able to test this wonderful pattern for Jenny. She has many wonderful patterns here. My favorite little girl pattern is the  Pinafore top and skirt. I have gotten so many comploments on this outfit for Sweet pea. The pattern was so easy to follow and this top went together very quickly! and the fit is perfect too! This pattern is a new favorite of mine!! I am thinking about a knit top for layering for this fall in a wonderful olive green paired with a brown belt...more to come on this one. :)
Go check out this great pattern!!

Happy Sewing!!
Sharon

Saturday, October 1, 2011

Traveler Dress Sew Along, Day 4!

Today we will be finishing up our dresses! I love the last steps the most. :)
First take one of the collar pieces and fuse the interfacing onto it. The Second collar piece iron up the bottom side, this will be for attaching the collar onto the dress.


Pin the collar pieces together and stitch across the side, top, side. Turn and press.
Now we are going to pin the collar onto the dress. Take your time on this step, working the dress under the collar so there is no puckers after sewing together.
After sewing the collar on turn and check the right side for any puckers, like this one. At this point you can take the seam riper to this small part and fix it.
Only take out a small part of the sewn seam and work hte fabric so there is no pucker any more and stitch this small part again.
And no pucker!
Now trim the seam allowances, being careful not to cut to close to the dress. I always think cut the seam allowance in half, this helps me. Press the seam up towards the collar.
Now working the dress, pin the collar down with the seam tucked inside.
Edge stitch around  the whole collar starting with the pinned area first.
This is where we are at now, almost there!
Now onto the button holes. I pin my traced out button hole guide down at the top of the dress then take my fabric marker and trace ovrthe top of guide to mark the button hole and button placement.
I only mark the top of the button holes with   the way my sewing machine makes the button holes. Simply follow your guide to finish the htem. Sew the buttons on and......
We have a beautifully sewn dress!! I would love it for anyone who made this dress to post pictures at the Sweet pea & Pumkins flicker group as you finish up your dresses. The button tap is on my side bar. I'll be posting pictures of me wearing my dress on soon!

Happy Sewing!!

Sharon

Thursday, September 29, 2011

Traveler Dress Sew Along Day 3!

Good Morning! Sleeves, attaching skirts and button plackets, OH My! After today it will really  start look like a dress and be almost done! Yippy!

 I made view C so my sleeves have gathers in them. You are going to make the garters on the top of the sleeve and the bottom of the sleeve between your markings that you transferred from hte pattern. To make a gathers stitch I set my machine to the longest stitch, which is a 5, and to the set the tension to the 8. My machine will gather my fabric for but be sure to leave long tails of thread to adjust the gathers as needed.
 Next take the sleeve on pin the two short ends together with right sides, as to make a circle, together and stitch.
 Now for the sleeve cuffs, we need to add interfacing to both of them. Cut the interfacing the same size as the sleeve cuff and iron on.
 pin the two short ends together with right sides facing and stitch together. Next press up one side of the sleeve cuff. Repeat with second cuff.
 Oh this is my favorite part of making the sleeve! Take the sleeve cuff and slip it over the bottom of the sleeve with right sides together, matching up the raw sides.
 First I pin the none gathered spot then I work on my gathers so they are nice and even. I think I tend to over pin here but want the gathers to stay put while I am sewing them in place. Stitch in place. Now turn the sleeve right side out and fold the sleeve cuff up toward the sleeve so that the seam of the sleeve/cuff are to the inside of fold. (sorry no pic here) This will be your already folded pressed edge here going up. Pin in place and stitch. Done!
 Now to attach our sleeve to our bodice I did the same as the cuff of the sleeve. I start at the bottom of the sleeve, matching up the side seams and pin the none gathers areas first then work my gathers so they are nice and even across. Stitch in place. Now here I finished my seams with my seger but you can sew a same zig zag with you sewing machine to finish off the edged.
 Tah Tada! a pretty sleeve!
 Now on to attaching the skirt. If you made view A or B this part you will not need to do. First sew together the three skirt pieces and finish the seams. Run a gathering stitch across the top between markings. Pin the bodice, matching up side seams and adjusting gathers. Stitch together then finish the seam.

 Now the hem the dress. I did make my hem longer than this but this is just to show you how to make the hem. First press up an inch. (I know that's knot what I am showing here. ;)) then...
 Fold hte raw edge under the to the fold and press again. Stitch as close to the inside of the fold as you can.
 This is where we are at now, looking better!
 Onto the part of the day, the button plackets! Take the interfacing's and iron them onto the top and bottom plackets. The sew the top and bottom plackets together. You will have four of these top and bottom pieces when sewn together.
 Taek one and pin it to the side of the dress matching up the seams on the bodice and the button placket, with raw edges together. stitch. Repeat with other side.
 Take  seam and press towards the button placket on both sides.
 Now take the last two button plackets and press the one side in.
 Take the button placket you just pressed and pin it with right sides together, matching up seams of top color and bottom color. Stitch.
 Here is what the bottom of the stitched placket looks like, you are going stitch across the bottom of the placket too. Be careful as not to sew the bottom of the dress hem into this but be as close to it as you can. Trim and press for a lovely button placket! Repeat with other side.
 Almost done now!! After pressing the button placket to the inside, pin in place. I pinned my working on the inside but left my pins sticking out a bit so I could pull them out while working from the top of my dress. Be sure to match up the stitch line and the folded edge of the placket while pinning in place. This way when you are stitching on the top side you will be sure and sew the placket in place and not "miss" it in spots.
 When stitching around the placket, stitch as close to the edge as you can. This will make your finished dress look more proffesional. Now drum roll.....
 Here is what we got! This dress is almost done now, all that is left is to add the collar and button holes tomorrow. Until then, Happy Sewing!!
Sharon