Friday, December 10, 2010

Rosetta hair bow tutorial

I made Sweet pea's hair bow for her birthday to match her dress. It is the first hair bow I have made, I have been wanting to try this for some time now.
You will need:
7/8" ribbon
1/2" fabric covered botton
ribbon covered hair clip
felt and thread

 First cut the ribbon, I cut a longer length and after I gathered it I decided how much I wanted on the bow and cut off the extra. Seal the edges of the ribbon, I used a candle lighter. Next along one side of the ribbon sew a gathering stitch all the way down. Gather it util you get the look you want.  I then sewed all the layers together.

I then took the back loop off a button and covered it with the fabric. Hot glue it onto the front of the rosetta.
 Now cut out a circle of the felt, make sure it is smaller than rosetta itself but big enough to cover the middle of back.
 Hot glue the felt onto the back.
Last hot glue the rosetta onto the hair clip. And your done!
Have a wonderful Friday!

Teacher's Gifts: Part 1

 I can't believe it is already Friday! and I have more Christmas presents to make still. My little girl is teething (screaming and crying most of the time) so I haven't been able to sew as much this week.  I did start my boys' teachers' gifts yesterday. I finished the stocking this morning and I am making quilted coasters and coffee cozies to go inside the stockings. I used the same stocking tutorial as this one HERE.  I did add 2" around the stocking pattern to make it bigger though. I used lace for the cuff instead of fabric. 
When I am all done I am putting in a packet of coca and homemade gingerbread cookies inside the stocking too.

Happy Sewing!
Join  us Saturdays at tatertotsandjello.com for the weekend wrap up    party!

Wednesday, December 8, 2010

1st Birthday Accessories

 I got up at 3am to feed Sweet pea, yes she still wakes up for a feeding at night, and got a inspired to make her birthday hat and bib to go with her dress. (I had just made her hair bow yesterday afternoon.) So at 3:30 this morning I got to work.
 For the hat I made a white yo-yo and placed a #1 on it. I took a green glitter paint and out lined the #1. I glued them onto a white polka dot on pink felt that I cut out in the shape of a birthday hat. I hot glued a pink fuzzy bow around the bottom and a bit at the top to make a fuzzy ball.
 The hair bow is made out of polka dot ribbon with a fabric covered button in the middle. The button has the very same fabric as her dress.

The bib has to be my favorite though! I found the the cup cake applique at Hobby Lobby about a month ago. I used the same pink fabric that goes around the bottom of her dress to make a ruffle to go around the edge and pink baby rick rack that goes the whole way around the bib. I added a pink button on back just for looks.
I think she will be just the prettiest baby on her 1st birthday! But I am her mommy ;)


Join  us Saturdays at tatertotsandjello.com for the weekend wrap up    party!

Tuesday, December 7, 2010

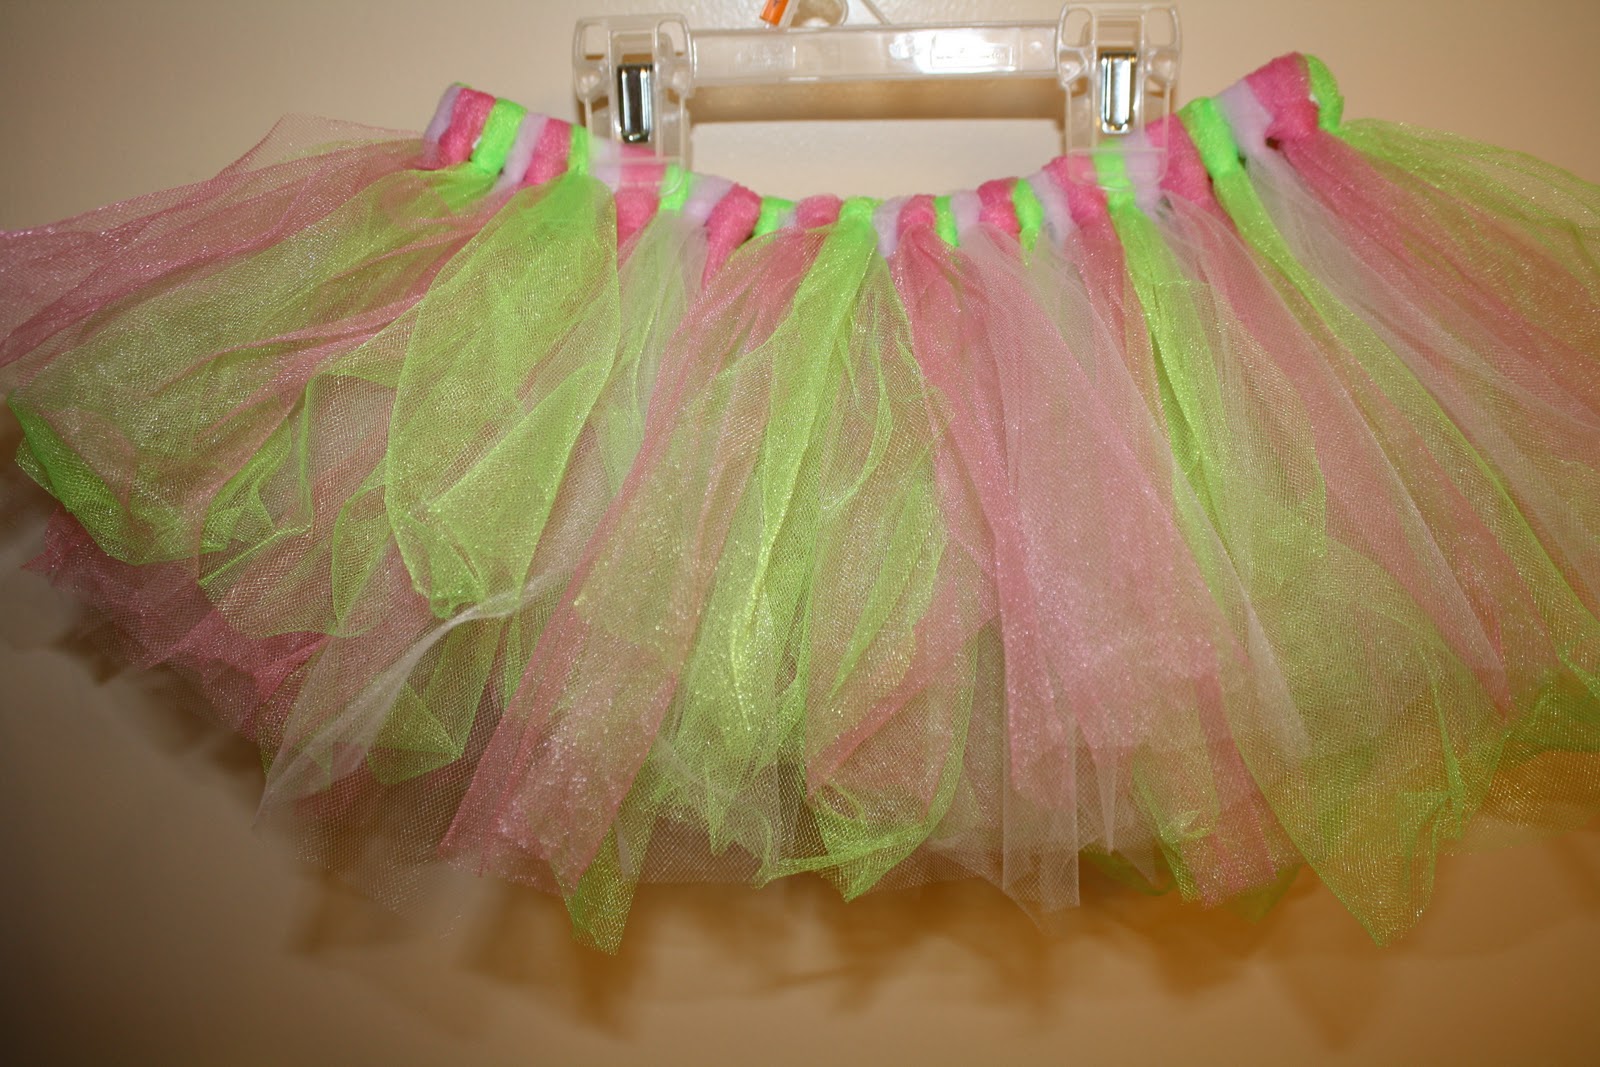
Tutu Tutorial

 Next on list of Christmas gifts to make is tutus for my husband's niece and for our little Sweet pea. I had made Sweet pea one for her Halloween costume this year and thought both girls would love to have one.

You'll need 3/4" elastic
thread to attach elastic together
tulle, I bought mine at Hobby Lobby in the spool

I used 1/2 spool of pink, purple and green for the one I made (for a 27" waist) , and 1/2 spool of pink  and purple for the smaller one ( a 17" waist).

First measure the waist of the girl the tutu is for, cut the elastic 2" smaller than her waist. (the elastic will stretch as it is being made) Sew the ends of the elastic together.

Next cut all the tulle into 21" strips. Both of the tutus I made are for very short people so add some inches if it is for a taller child. If your not using the tulle on the spool cut the tulle into 5 1/2"x 21" strips.

 I stretched the elastic band on the back of a chair while I tied on the strips of tulle. Take one strip and fold in half making a loop. Hold the loop behind the elastic (as in picture) and thread the ends of the tulle strip through the loop, pull tight.

 If using different colors, alternate the way around. Fluff the tulle when all of it has been added to the elastic.

 Now you have a pretty little tutu perfect for twirling in!

More Super Hero Capes!

 I finished up my three boys capes yesterday night after they went to bed. I made them all different colors this time. To make the bottom of the J I traced around a bowl and used a ruler to make the top of it. I used a bowl also to make the G . All the capes made up pretty quickly, I worked on them some two nights in row.
 Here is the little boy who wants one so bad!  (He is wearing his cousin's here so I could take pictures of it.) They all have told me they really want one. I know all three boys will be so surprised on Christmas morning!

Sunday, December 5, 2010

Super Hero Cape

 For Christmas I made my husband's nephew, who is 2,  a super hero cape. (my model here is my youngest son). I am going to make my three boys one too but it will have to be late night when they are sleeping. ;)
I used a old cape from a Halloween costume from a few years ago as my pattern. The bottom of the cape measures 20 1/2" before sewing together and tappers down to 8" at the neck with a hole cut out 3 1/2" for the neck.  ***sew with 1/4" seam allowance***


You'll need 2 yards of fabric
scraps of yellow and red
heat and bond
thread
 First cut out the cape front and back. Here I used an old cape for my pattern and added a 1/4" for seam allowance.
 Next cut out the diamond shape and the letter, I made a N for his first name initial. To made the diamond I cut out a shape 8" across by 6 1/2" long. Then measured 4 1/4" across the center top. To cut out the slants to form the diamond shape measure 3" from the top down.

Use the heat and bond to instructions on the yellow and red fabrics. Cut out the diamond shape and the letter initial. I free hand the letter but you can enlarge a font from your computer. First iron on the diamond and sew around with red thread, I used a very close zig-zag stitch.  Next iron on the letter and sew around it the same as diamond.
 Then cut out the ties for around the neck. cut two 19"x 2". Fold in half and press, sew one short end and then down the lenght. turn and press.
 Place the ties to the top of neck with the raw edges of the ties over lapping just a bit. Pin the ties in place as not to sew over them when the front and back are sewn together. Pin the front to the back with right sides together. Sew around with leaving a 4" space at the bottom open for turning. clip bulk around neck. Turn and press.


 Stitch the opening at the bottom up and around the whole cape with 1/8" seam allowance.  That's it and your done! A super hero cape any little boy would love!


Happy sewing!  linking up to:


Friday, December 3, 2010

Leg Warmers

 I have seen a ccouple of leg warmer tutorials on different blogs and have wanted to make some for a time. As I was walking through Wal-mart yesterday I seen the cutest socks and had to have them!
 All I did was cut the foot part off and the middle of the foot part off (for the bottom cuff).

 Fold over the part for the cuff, but wrong sides together. ( in the picture I had it folded wrong!,lol) Then sew on the bottom of the sock where it was cut. Fold over and it's done!!
 How cute is this. :) And so easy and quick to make! 
Happy Sewing!!