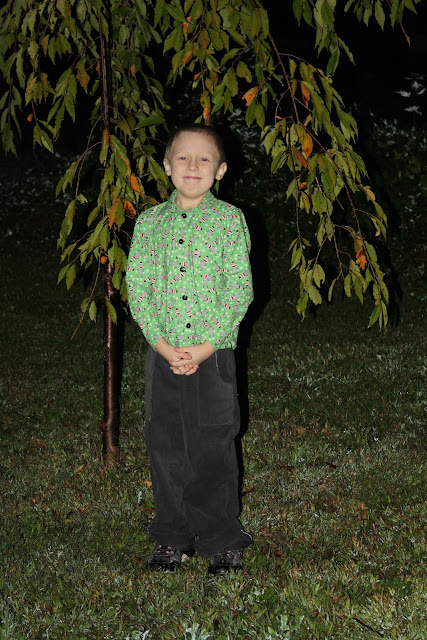
Sweet pea loves her Christmas outfit this year. She even helped pick out all the fabrics an buttons for this one. Both fabric and buttons are from Sweet pea's great-grandmother. I think just about everyone is my family sews. :) I though I would share with you on how I made Sweet pea's Christmas dress this year.
I used the Oliver + S Apple Picking Dress pattern for the pinafore dress. I have used this pattern a few times before, It's a favorite of mine! But what O+S pattern isn't?
The pink pattern piece is the original pattern and the white is the changed pattern piece. (I made the 3T size here.) From the bottom edge of the pink pattern to the bottom edge of the white is an 1 1/2". I just then drew a line from top edge to the mark at eh bottom of the white pattern piece. This includes a 1/2" seam allowance. Cut two of the main fabric and two of the lining fabric out.
I then took the Center button placket (the bigger one that goes on the top of the dress) and added a 1 1/8" to the bottom then drew a straight line down to make the angle. I also rounded the top corner of the bottom placket too. The longer straight edge needs to be cut out along the fold of the fabric. Cute one of the main fabric and one of the lining fabric.
I then took the center button plackets and added fusible interfacing to the main (plaid) piece then stitched the two together with right sides facing. (1/2" seam allowance) Trim, turn and press.
I then edge stitched the outside and added my button holes. I used the pattern's guide for the button holes for this one but for the Christmas one I only used six buttons so I just evenly spaced them out.
Then stitch the lining bodice and main bodice at shoulder's only. I trimmed and pressed the seam allowance.
Then pin main and lining together with right sides faces. Stitch only the arm holes and front center and neck line. (where the black lines are) Trim seams, turn and press.
Now stitch together the sides of the bodice (where lines are). Open up the lining and main of wears left side. Pin the main and lining side bodice with right sides together. (see below)
Stitch and then trim seam and press open. Turn bodice right side out and press bodice again.
This is what you'll have! Repeat with other side. I then edge stitched around the arm holes and bodice outside edges.
The pin the center placket on and stitch the whole bodice lining to the main fabric using a 3/8" seam allowance. I then finished the pattern as in the instructions for the skirt. (I did add a 2" to the length of the skirt though)
To make the bow I cut out two 5"x7" and stitched them together leaving a 2" opening. I trimmed the seam allowance then hand stitched the opening closed.
I then pleated the bow and stay stitched it in place in the center.
For the center of the bow I cut out a 2" wide strip of fabric and stitched it together using a 1/4" seam allowance. I turned and press it with the seam in the center. I just wrapped the tub of fabric around to fit it to the bow and added 1/4" for seam allowances. I did a narrow zig zag stitch on the raw edges to finish them, them stitched it together to make a circle. (see below) Then turn right sides out and place the seam in the back and thread the bow through.
I then stitched the bow onto the very bottom of the bodice, centered, to the button placket. I moved back the center ring of the bow and stitched under this on both sides to hold it in place. Then add buttons and you are done!
One new dress for Sweet pea! (thanks Grandma for the buttons and the fabric!!)
Happy Sewing!!
Sharon


