Showing posts with label Sleepy Bear pj's. Show all posts

Tuesday, December 1, 2015

Sleepy Bear Pj's for all the kids and a Sew-Along!!


So if you know me or have followed me blog for a few years you know how much my kids love winter pj's made by their mama. My kiddos have outgrown all their sets from a few years ago so it's time to remake them. Yep some of my favorite fun sewing, pj party at my house!! 
**Warning lots of photos to follow, I made 6 sets this round**


 For all the Pj's I used the Ellie Inspired Sleepy Bear pj pattern, including the dolls' pj. All the tops are made with Riley Blake knits and the pants are made using Riley Blake Flannel. The flannel is by far my very favorite to work with of all the brands. 


I love this pattern for how easy and quick it is! It took me 1 and 1/2 days to sew all these sets up. Yep it's that quick! The pattern does call for a short sleeve but I made a mod for the long sleeve. That was super easy to make as well. 
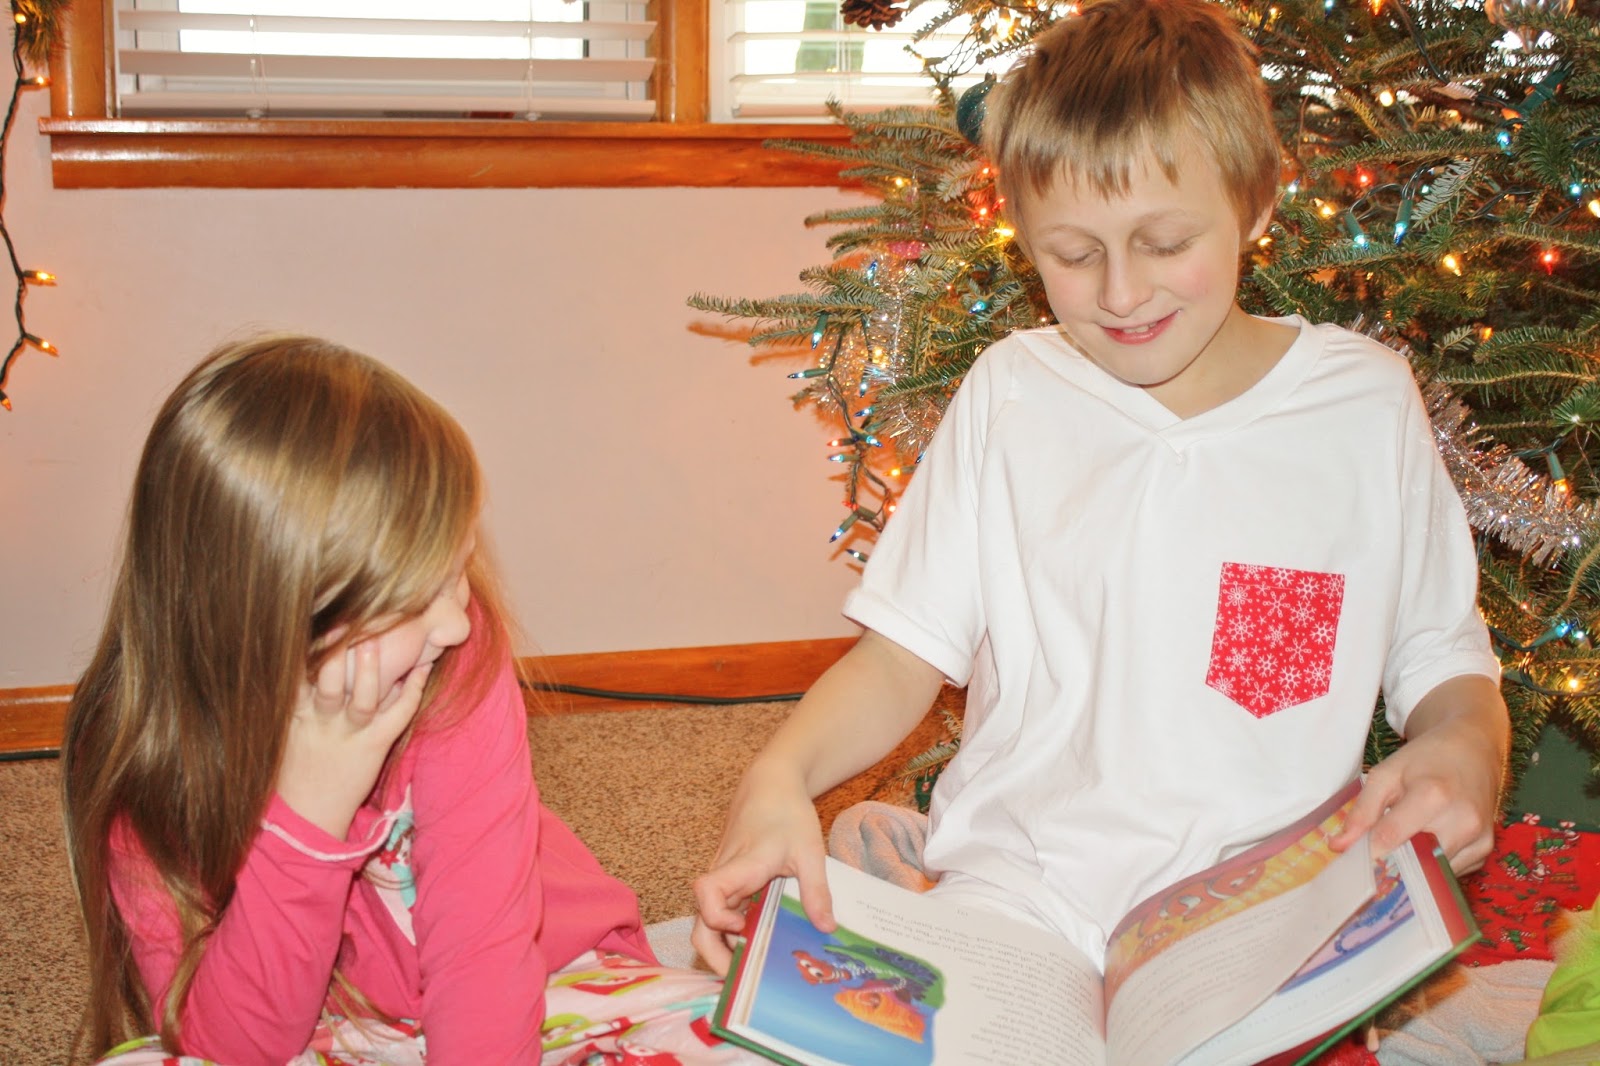

My kids love how roomy the pants and top fit. Perfect for curling up with a good book on a cold winters night. They are so cozy that I am thinking of making me set like this, if only it came in my size....


Of course miss Elsa and Isabelle had to match their mommy! The awesome part of the doll pattern is that both sets were made for Sarah's left over fabrics only. How awesome is that?! One reason I love tiny sewing! 


For the doll pattern I used the robe sleeve pattern for the pj top instead of the short sleeve pj t-shirt pattern piece. I did use lettuce edging on the bottom of both Sarah's and doll's pj top as well. They had to be girly as requested by miss Sweet pea. 


Now onto the sew along fun!! Starting on December 14th I will be leading the Sew along for this pattern over at Whimsical Fabrics! We will only be sewing the top and pants this time. (You can sew a robe up as well) I will even be teaching how to make a modification on a pattern to make a short sleeve into a long sleeve. If you have done this before it really is fairy easy. 


As always Danielle has put together some awesome kits for you.  If you have not bought one from her yet this would be a great starting project, she includes everything needed but the thread, including the elastic for the waist band. She has so many wonderful options with this one! Christmas and non-Christmas ones. You can find all the kits options in the Whimsical Fabrics Shop. 


Now I am sure you have noticed how much my little man has grown. Last year this time I was sewing him a size one, the pants were a bit big on him them. Well this year I had to cut a size 3.... When did he grow so much?!? Yipes! This mama is a bit sad over this one. The two older boys are still a 10 and Sweet pea still is a size 5, only taller. My oldest though has gone from a size 14 boys to men's sizing. He is taller than me now. It is so amazing how much growing a child can do in just a few short months. 


Some little mommy loving. Sweet pea adores her baby doll. 


I do love how this pattern does fit all my kiddos with only one pattern. It starts in a size one and goes all the way to a size 16.  The pattern does also include a robe pattern but I didn't sew one up this time. 


As you can see these made my bunch very happy! 

Happy Sewing!! 

Sharon

Friday, September 26, 2014

Queen Elsa, Let it Go!


It's that time of year again; costume time! This year I am doing things a bit different though and I am making everything early! I have three done and two to go. The first one I am showing you done is Sweet pea's. She has changed her mind a million times (which is kind of my fault). Her first costume in the works was going to be Pinkalious. I had the whole costume planned out too, a smocked bodice, dyeing lace to make just the right shade of the pink ruffles on the skirt, hand painted wings with hand sewn pink "fluff" around then, well you get the picture. Any way she kept asking for the Elsa dress costume. I know there will be a army of them out on Halloween night so I really wanted her to be something different until I thought about it. (ok, ok she was singing "Let it go" endlessly too)  It's her costume and she doesn't care if every other little girl is dressed the  same. That who she really wants to be. She is only four so really why not? It is a day of fun for the kids and not mommy. So as my friends would "let it go, le it go" so I did. ;-)


I wanted to make her a "real" dress costume. I know it will be worn a lot. Second It had to be little girl like and not, well, improper looking to be polite. Which means a bit fitted but not tight and no slit and the front of the dress had to come up higher. Third, the cape has to come off for washing and play wear. I think we are both happy with the end result of this dress.


Ok now the how and how-to! I used two different favorite patterns I mine to make this look. The Oliver + S Fairy tale dress pattern, Ellie Inspired Sleepy Bear pj pattern and a self drafted skirt ad cape. I traced the bodice of the of the Fairy tale and drew a line for where I wanted the dark blue to be and the see though to start. I then redrew the top and bottom pieces separate and added a seam allowance to them. I cut out the main bodice with the satin and the dark blue see through fabric over lay on top of the satin.  (the blue is a pretty sparkly design to it) I also cut out a satin lining with the see though snowflake fabric as well. I did the very same for the back bodice.


Here is the back of the dress, I have the zipper going up to the top of the satin and then a loop and button for the top. (Do you see the nicely matched bodice at the zipper line?!?)


I have to show you the lovely lining! It slips on Sweet pea so nice and she loves the feel of it.


To give the see through fabric a nice finish I sewn it all with French seams. To keep the seam allowances tighter on the main bodice and the lining bodice I hand stitched them together carefully through all the layers after I sewn the bodice pieces together. The non gathered sleeves are from the Sleepy Bear pj pattern. I really, really love the fit of the sleeves from this pattern! I self drafted the skirt pieces, the cape and the crown.  


I cut the cape out the full width of the fabric and juts rounded the corners out and serged roll hem the edges. I then made a bias (I measured this to the length I wanted the finish top cape to be) with the see through snowflake fabric and gathered the cape onto the bias and stitched it closed. I then added hooks and loops to the dress and cape so that the cape can come on and off.


The cape is nice and full too. I so glittery! It looked like I killed a fairy in the kitchen while I was this costume!


The cape is also nice and flowing too. Perfect for playing Frozen.


She really loves the finished dress and didn't want to take it off. She thinks she looks just like Elsa. I am very glad now that I made this dress for her, we are both very happy with it. Now the only problem is Sweet pea is trying to convince me that Prince C wants to be Anna, hahaha, I don't think so my love. ;-)


Happy Sewing!!


Sharon


Wednesday, September 10, 2014

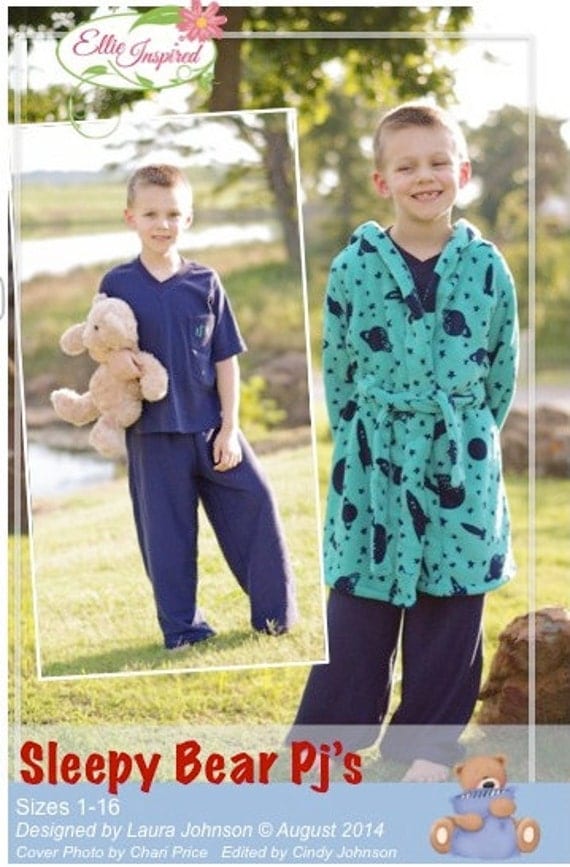
Sleepy Bear Pj's pattern


The weather is much cooler here now, you can feel fall coming in the air. So that means it time to start sewing pajamas for the five kiddos! I always try and sew 3 pairs for each child, that way they have great rotation and last longer. My kids look forward to their mama made pj's every fall now for a few years so when I was able to pattern test the Sleepy Bear pj's for Ellie Inspired I about flipped! The design is so wonderful and the size range is for size 1 to size 16! Yes, all my children's sizes in one pattern!  To make it even better the pattern is a three piece set, pants, top and hooded robe and sews up so quick. It's a dream come true pattern for me! I was able to print out, trace, cut and sew a whole set within about 6 hours time (not bad if I say so) so I am able to whip out several pairs quickly; with five children that is a huge plus! 


Sleepy Bear Pjs - Ellie Inspired PDF Pattern Size 1 - Size 16 Pajamas and Robe


The second great part of this pattern is that the bottom and robe can sewn in knit, flannel, fleece and minky. (the top does have to be sewn in knit or stretchy material) This pair here is sewn with a flannel bottoms, a knit top complete with flannel pocket to match the pants and a flannel robe. (this pattern even has a short pattern to it for my friends sewing on the other side of the world so it's prefect for summer time too)


Isn't the robe just darling?! All the fabric to sew both pairs was sent to from my grandmother, thank you so much grandma!! They made the cutest pj's! (sewing runs along way down from generation to generation in this family)   


With all the camping out we have done, this robe sure has come in handy. We have had many cool nights already and it really fit the bill to keep Prince C warm and snug. He really loves the hooded robe the most of this whole pattern.


and the second pair! (like I said, this was a really quick pattern!) Prince C is crazy about animals right now. He loves trips to the zoo so much so this pair really suits him. I have been saving this knit for just the right project too. (the wee pocket just kills me!) This set is all knit except for the robe which is more of a minky fabric with the hood of the robe lined in same knit as the pants.


he ahs even worn this shirt all day too, with his shorts to paly in. I will tell you ladies this is his favorite top right now. I keep telling him it's a pj top but he smiles and tells "no, no, mine" lol. At least he loves it right?? :-)

The robe on this one is super soft! This robe has all the other kiddos requesting one as well. It's so soft and cozy that I want one too in my size. I do have fabric ready to go for the other four kiddos too. Sweet pea's is up next, pink frog fabric from grandmother as well. My grandmother is so awesome that she always knows what fabric to send that the kids will like!


Happy Sewing!!

Sharon

Thursday, September 4, 2014

Corduroy, Cotton and knit for Fall


Sweet pea and I have more recently found this very inspirational little girl clothing website, Chasing Fireflies. She loves to look at all the pretty outfits online and in the catalogue.  This outfit pictured below is one of the outfits that she really liked and had to have mama make her. Lucky for me Ellie Inspired came out with a pattern so very similar this past month that worked out perfectly!


For her skirt I used the "School Days skirt" pattern with a few mods. The waist band in the pattern calls for one piece to be cut, I changed this to a four pattern piece part. All I did was dived the measurements by two and add seam allowance to only one side. (The side that would have been sewn has it in there still)  I made the waist band pieces 4 1/2" inched log as well to get this look. Next is to cut the front waist band down to size for a flat front. For this juts measure the waist line and dived that by half and add in your seam allowance. Cut two front and two back pieces, two for main and two for lining. The two sections on the main side is to put the big bow that ties at the back of the skirt. I then cut out the next two fabrics out according to the width of the first ruffle on the skirt.  I also added in flat 1" piping between the cotton and corduroy layers as well and finished it off with w yellow bias bow. (thank you so much Shelley for the advice!!)


I made shirt using the "The Sleepy bear pj's" pattern. I made  a size 4 with a size 6 length for her to tuck the shirt in easier. The only mods made to the top pattern was making it long sleeves and making it a rounded neckline, oh and I added a bias to the neck line instead of the ribbing. I did make the sleeves a little long but Sweet pea grows so quick that this will fit her much longer.


The skirt is full for lots of twirling too. See the two bows?! These are her favorite part of the skirt. This is one of those if she puts it on, she starts to dance outfits. haha!


This is my favorite part of her outfit, the shirt! It's made with an embroidery white knit. I had enough left over to make a matching head band. That was so quick and easy to sew too. I most of it on the serger.  


Here is the lovely back bow. I am thinking Sarah needs a pettie skirt to go under her skirt to give it some more "puff". She will need one for her costume this year anyway so why not make it sooner than later. When did her hair get so long too?!?I was going to have it cut this summer but she doesn't want it short so we let it grow some more.


I would say fall sewing is off to a great start! I have pretty much all of Sarah's sewing done, other than three pairs of pants and Jacob's is all done. Yep, I think I am back to sewing full swing now!


Happy Sewing!!

Sharon