
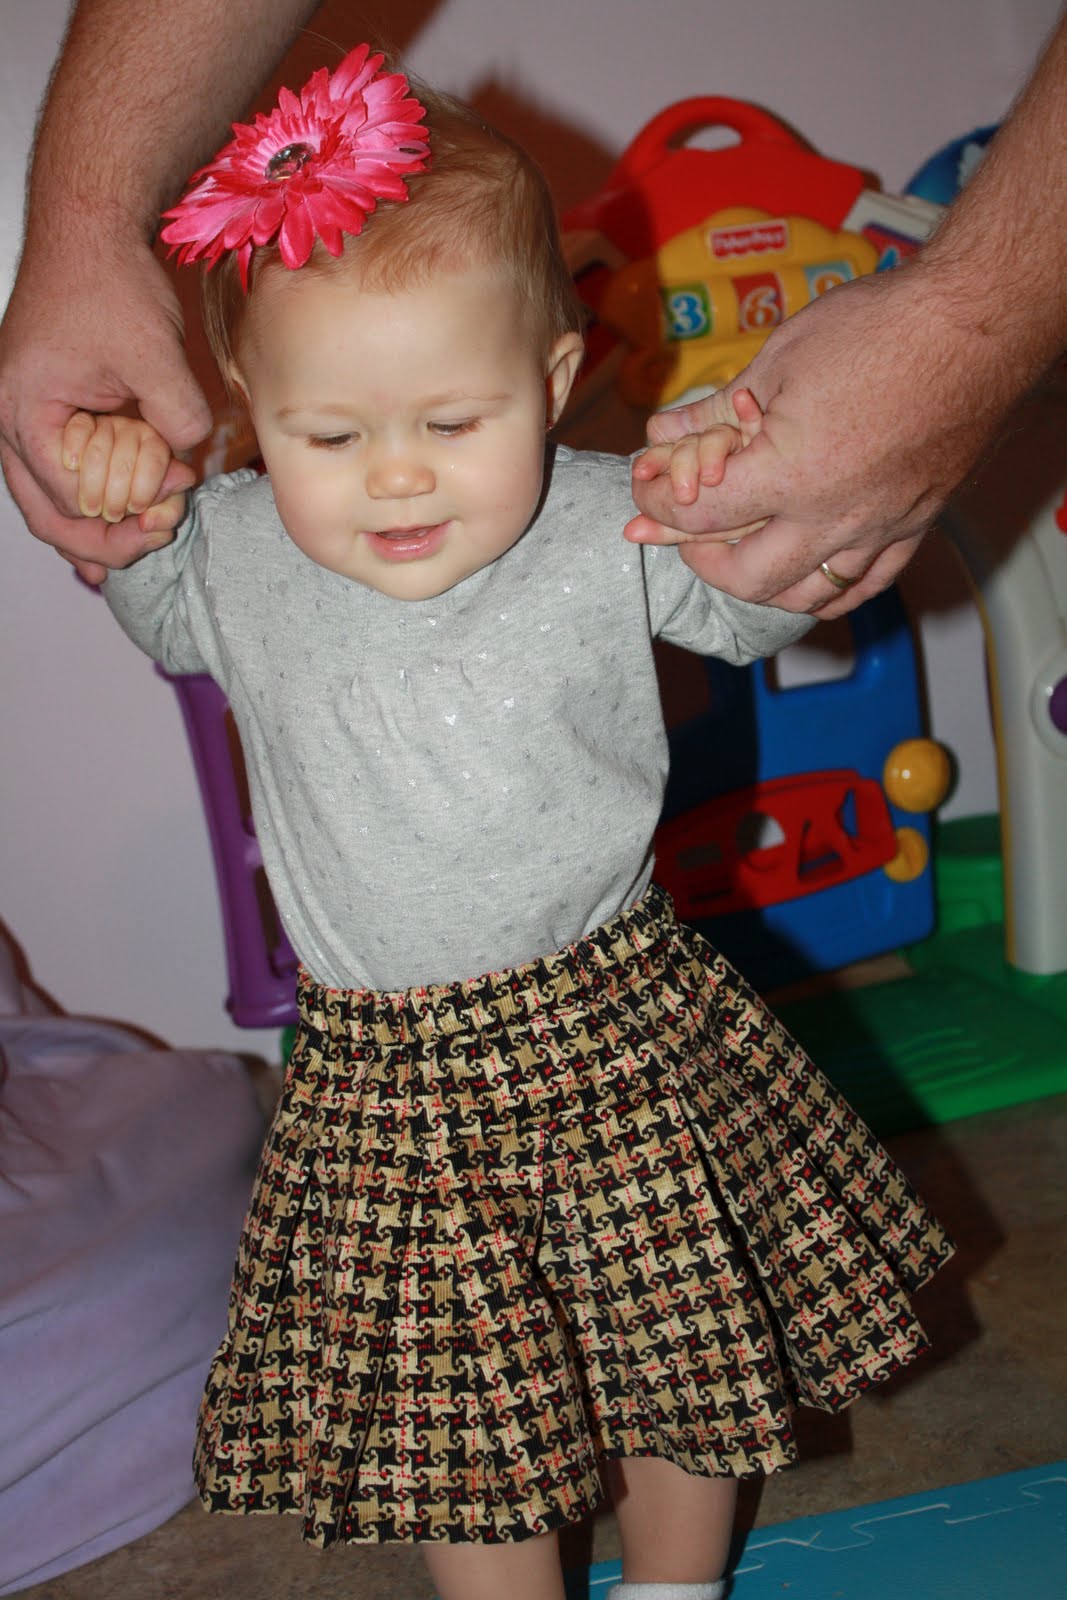
 Sunday afternoon I made Sweet pea a new skirt. I wanted to make her a pleated one with some corduroy I had bought a couple of weeks ago. It did take over an hour to make because the pleats were time consuming.
 To make you will need (for a size 6-12 months):
*piece of fabric cut to 4 3/4" x 25 1/2" (17" waist x 1.5), for waist band
*piece of fabric cut to 76 1/2" x 7 1/2", bottom of skirt to be pleated
Sew with 1/4" seam allowance
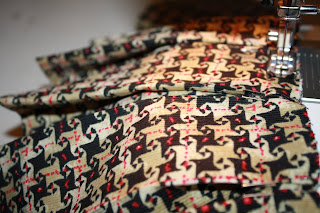
***this is how I figured out how much fabric I needed for the pleats; I wanted to make the pleats 2" and it takes 4" of fabric to make 2" pleats. (2" in front and 2" in the back and 1" of fabric in between. You can see better what I am talking about in the photo below. Notice the bottom of the pleats it is easier to see.) The waist band measurement (25 1/2") divied by 2" (equials 12 3/4"). The placement of the pleats is every 2". Take the divided by number then (in my case 12 3/4") x it by 4" (every pleat takes 4" of fabric) equials 51". Add together the waist band width (25 1/2") and the number for the how much fabric we need for the pleats (51") = 76 1/2". ***
*piece of fabric cut to 76 1/2" x 7 1/2", bottom of skirt to be pleated
* piece of 3/4" elastic 17 long" (size of her waist)
Sew with 1/4" seam allowance
***this is how I figured out how much fabric I needed for the pleats; I wanted to make the pleats 2" and it takes 4" of fabric to make 2" pleats. (2" in front and 2" in the back and 1" of fabric in between. You can see better what I am talking about in the photo below. Notice the bottom of the pleats it is easier to see.) The waist band measurement (25 1/2") divied by 2" (equials 12 3/4"). The placement of the pleats is every 2". Take the divided by number then (in my case 12 3/4") x it by 4" (every pleat takes 4" of fabric) equials 51". Add together the waist band width (25 1/2") and the number for the how much fabric we need for the pleats (51") = 76 1/2". ***
 Step 1. I first hemmed the bottom of the fabric that is to be pleated (73 1/2" x 7 1/2"), press it under 1/4" then 1" then stitch in place.
Step2. Find the middle of the fabric that was just hemmed. That is where you are going to start making your pleats. From the center point measure out 1" from left side mark with stait pin, measure out 1" from right side of center and mark with strait pin. This will be the inside of the center pleat. Next measure out 2" from right side of marked place with the strait pin. Fold the 2" in half to make a 1" pocket, press and pin in place. Repeat to left side. First pleat done.
Next measure out 2" from right side of marked place with the strait pin. Fold the 2" in half to make a 1" pocket, press and pin in place. Repeat to left side. First pleat done. 
Now to make pleats to run down both sides of the center pleat. Measure out 2" from the right center of the first pleat, mark. Measure out another 2" fold under to create 1" pocket. (see picture above) Press and pin in place. Repeat to other side to form second pleat. Continue down right side until you reach the end. Then you will do the same by working on the left side of the center pleat. (there will be about 3" of fabric at both ends that will be pleated to allow for sewing the back seam.)
Step 3. run a strait stitch over the top of the pleats to baste into place, pulling out the strait pins as you go.
 Step 4. with right sides together, pin the top of the pleated fabric to the waist band. stitch in place. Press open.
 step 5. with right sides together, pin the back seam toghether and stitch. press open. (see picture above.)
step 6. Make casting for elastic waist band. Press down a 1/4" then down 1", pin in place. Sew with leaving a 1" space open to thread elastic through. Run elastic through with a strait pin, then sew both ends of elastic toghether. Tuck into casting, pining in place. Last sew up 1" opening and it's done!




