This dress was very similar to the Little black dress, it has a full back and only buttons on the back bodice though. I also made the bodice the shorter as well. Nice and breezy for hotter weather!
You'll need:
about 2 yards fabric
thread
some coordinating fabric
3 1/2" buttons
***Sew in a 3/8" seam allowance unless noted***
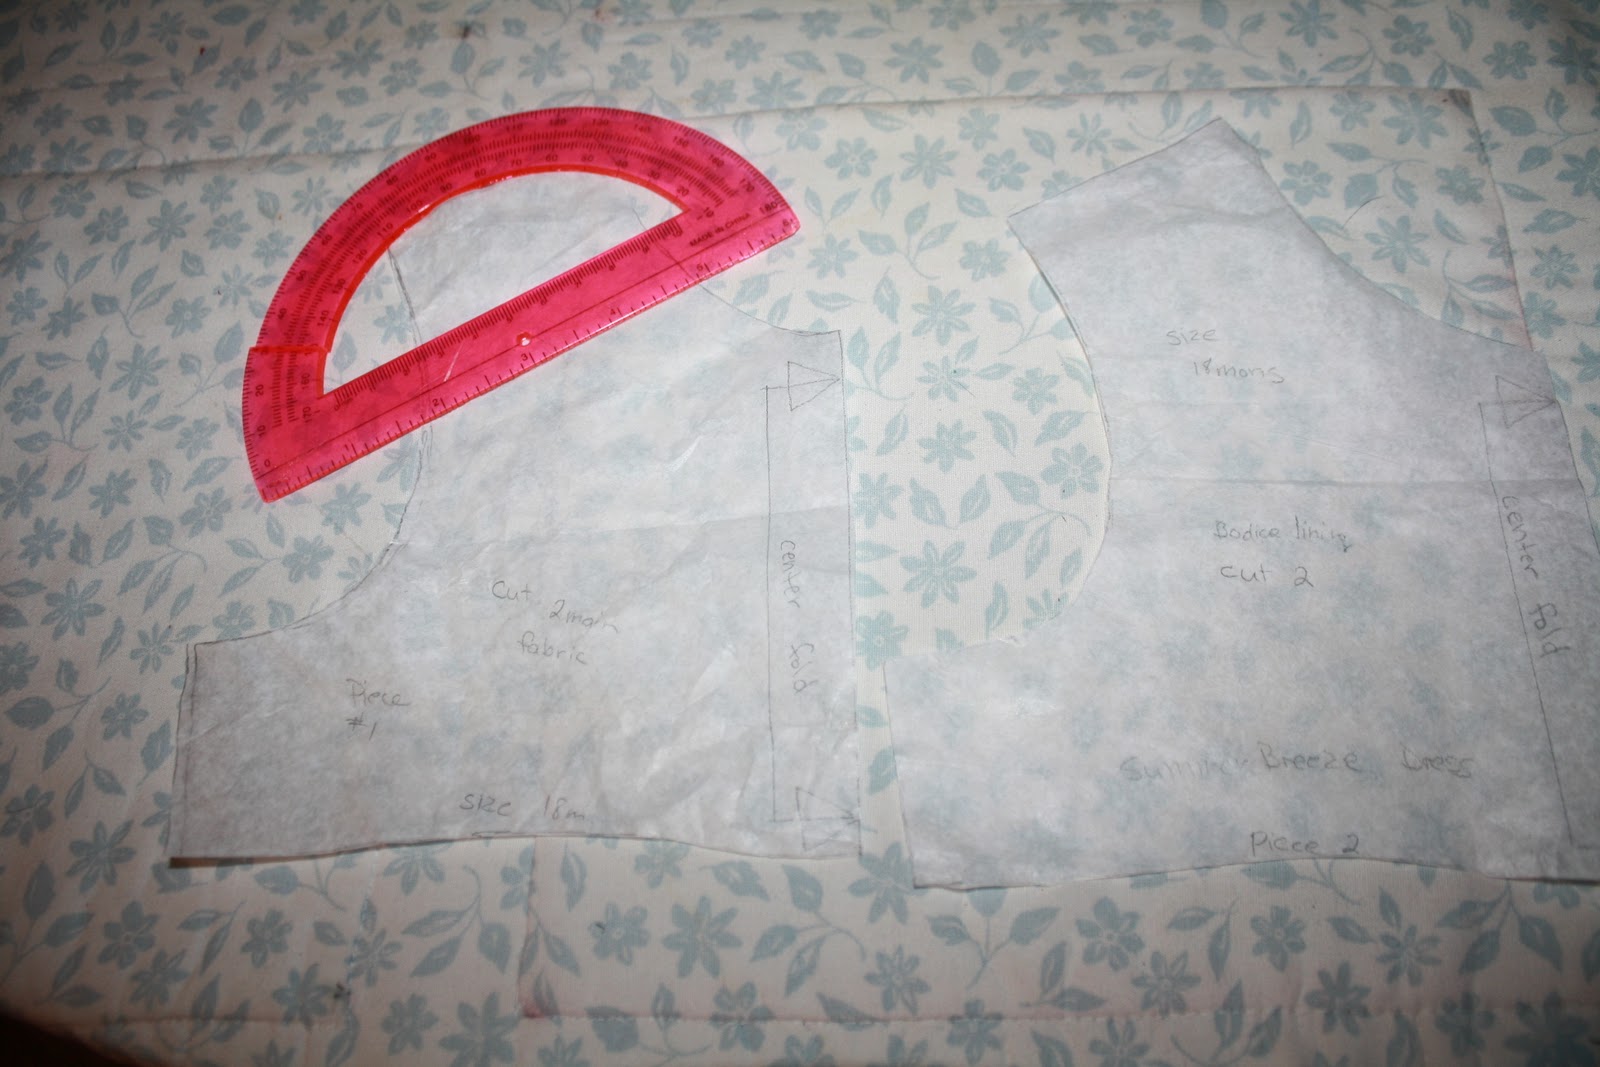
Step 1; We are going to make the pattern first. Trace a shirt or dress top that fits your little girl. (in my case I used a dress the next size up). Be sure to add your seam allowance for sewing! On this dress I made the neck line come down a little bit further in the front. I thought it would be nicer for the warmer weather outside. For the bodice lenght measure down 2" from the bottom of the arm holes, do this for the back bodice as well.
On the back bodice be sure to add a 1/2" to the center of the back bodice as well as the 3/8 seam allowance, shown in the picture above.
Now trace the front bodice so you have two patterns for the front. Take one bodice pattern and trace a angle cut.
Cut this off. When you cut out this front pieces be sure to add the seam allowance to the place were the two patterns will be sewn together.
Step 2; now cut out 4 of the back bodice, 2 of main fabric and 2 for the lining fabric. Cut out 1 lining fabric for the front bodice and cut out 1 of the bigger bodice for the main fabric and two of the shoulder pieces, adding the 3/8" to where the fabric will be sewn together.
For the skirt. cut one front piece out. for the width doulble the measurement of the bodice bottom width. For the leanght, measure how long you want it to come down, add the top seam allownce (3/8") and them add the bottom hem to that (1 3/4"). For Sweet pea's I made it 17" long.
Repeat same for back two pieces of the skirt, doubleing the measurement of the back bodice.
Cut out the sash pieces, I made this thin for this dress, enough to add a little something but not so much that this wouldn't be a fun play dress. For the fronnt piece cut it same width as fornt bodice x 2". For the tie backs measure fron the side to the center back and them down to the dress. Cut this measurement by 2". Cut 2
Step 3; take the three pieces from the front bodice, pin on the shoulder pieces. Sew and then press open.
top stitch right above the seam.
repeat step 3 and 4 on the little black dress.
step 4; Sew the back skirt pieces to the front skrt piece. Surge or zig zag the seams. Now pin the two back skirt pieces together, marking the top 4". The top 4" of the back skirt will remain unsewn. (see picture above)
step 5; press under the bottom of the skirt a 1/4" and then under a 1 1/2" for the bottom hem. stitch.
Step 6; Making a continuous lap. Cut a piece of fabric 1 1/2"x 8" main fabric.
Sorry no pictures, it wouldn't let me copy them :(
sew a line down both sides of the piece, a 1/4" seam allowance. Now open the piece to the skirt opening, making the skirt opening a straight line and pin the continuous lap matiching the ends even with the open skirt. sewing on the stitching lines of the continuous lap.
press the top of the continuous lap open. now press the top (unsewn sticth line) down at stitch line. now fold over, matching the folded pressed side of the continuous lap to the stitch line where the continuous lap is sewn to the skirt backing. (see picture below) press in place then stitch.
now fold the left side of the continuous lap to the inside back of the opening skirt, press then stitch in place. (see picture below)
follow steps #6 through #7 of the Little Black Dress tute
Be sure to match the edges of the open back of the skirt to the edges of the back bodice.
Step 8; take the middle piece of the sash and one of the ties and pin together, now pin the other tie onto the opposite side of the center sash. Sew both ties onto the sash.
Now take the sash and fold in half with right sides together, pining in place. Sew it together with a 1/4" seam allowance with leaving a 2 1/2" opening on the center sash for turning. Turn & press. Hand stitch the opening closed
Take the sash and match the seams up to the side seams of the bodice, stitching in place. (see picture above)
 Cut a rectangle 8"x2" piece of fabric, stitch around to close with leaving a small opening for turning. Trim the corners then turn and press. stitch opening closed.
Now take a thread and needle and run it through the center of the rectangle. gently pull the thread tight to gather it up. Wrap the thread around the center to make the bow. stitch in place.
Hand sew the bow onto the left side of the front bodice onto the sash.
Lastly, to mark where the button holes go, mark where you want the top and bottom buttons to go the measure the center between them and mark, making three button holes.
Place the side with the button holes on top to mark where the buttons will go, then sew them on.
That's it! This dress goes together pretty easily and quickly, let me know if you have any questions or problems.
Cut a rectangle 8"x2" piece of fabric, stitch around to close with leaving a small opening for turning. Trim the corners then turn and press. stitch opening closed.
Now take a thread and needle and run it through the center of the rectangle. gently pull the thread tight to gather it up. Wrap the thread around the center to make the bow. stitch in place.
Hand sew the bow onto the left side of the front bodice onto the sash.
Lastly, to mark where the button holes go, mark where you want the top and bottom buttons to go the measure the center between them and mark, making three button holes.
Place the side with the button holes on top to mark where the buttons will go, then sew them on.
That's it! This dress goes together pretty easily and quickly, let me know if you have any questions or problems.
Happy Sewing!!
Sharon