

I decided that it was about time I redo my hubby's and I bedroom so I started off by painting it this great brown color. (we have been remodeling our home but our room has been untouched until now). I bought the paint at Lowes clearanced down to $5 a gallon and they even had two! What great luck! Then a couple of weeks ago I was at Hobby Lobby and found this great fabric that matched the paint color in the rement bin for $7 regular for $29. I couldn't beat that!!
I made this super easy valance for my bedroom and thought I would show you ladies how I did it. :)
The fabric I had was 1 3/4 yard, I used all of this.

Step 1; Cut the ends of both sides of the fabric to make them straight. Next cut the fabirc in half lenght wise to make two skinny rectangles. (against the strips) Take one of these rectangles and cut it in half width wise (mine followed the strips)

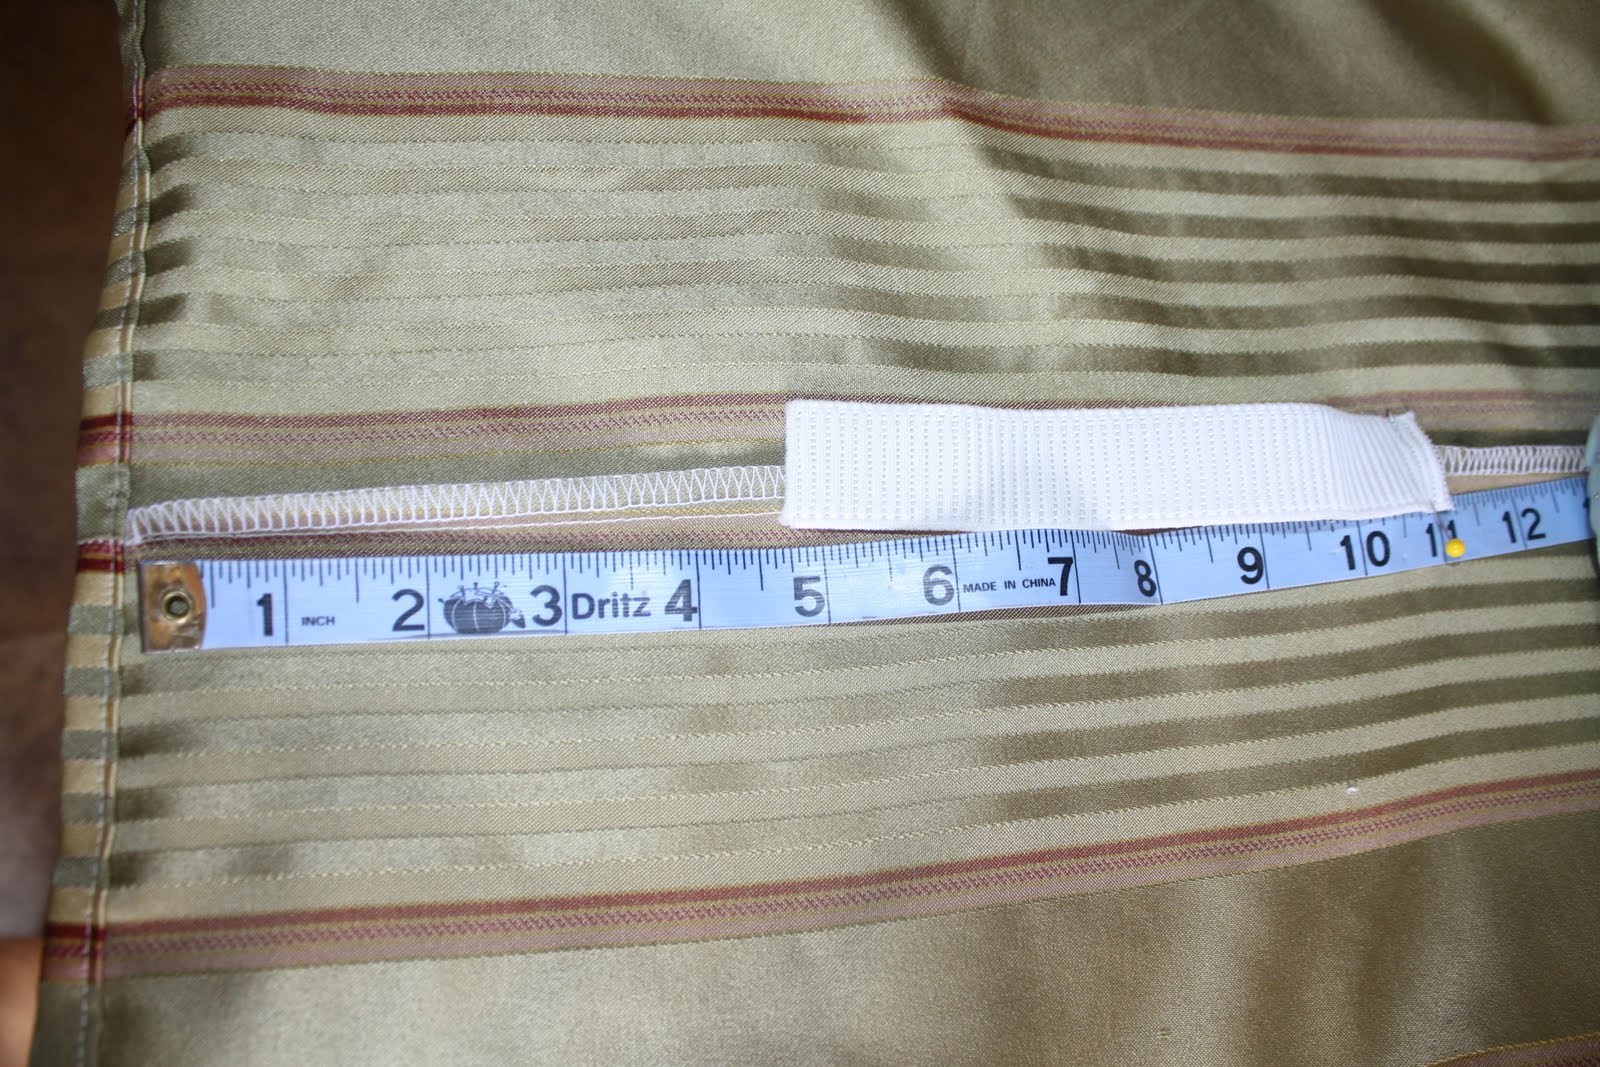
Step 3; hem the bottom with a narrow hem. (press under a 1/4" and then press under a 1/4" again. stitch in place) Repeat with the two sides.


And now it's done!!

Happy Sewing!!
Sharon
Did you cut and piece the fabric (in step 1) to give you the right width? I'm going to try your technique for a small window so my fabric is already twice the width of the window.
ReplyDelete