

Good Morning! We will be finishing our tops up today, a very quick top to make. :) We will start by finishing up our arm holes.

1; Pin the lining fabric and the main fabric toghter around the whole arm hole. Baist both fabrics together sewing as close to the edge as you can.

2; Now take the 1/4" double folded bias tape and open up the bias tape on one folded edge. Sew the right side of the opened side of the bias tape to the wrong side of the arm hole. (the inside of your top). Start at the bottom of the arm hole, place the bias tape right along the edge of the arm hole and stitch on following the fold line that is on the bias tape around the whole arm hole. When you come to the bottom of the arm hole where you started sew a bit longer than where the bais tape started. Cut of the rest of hte bias tape. Press the seam and bias tape up.

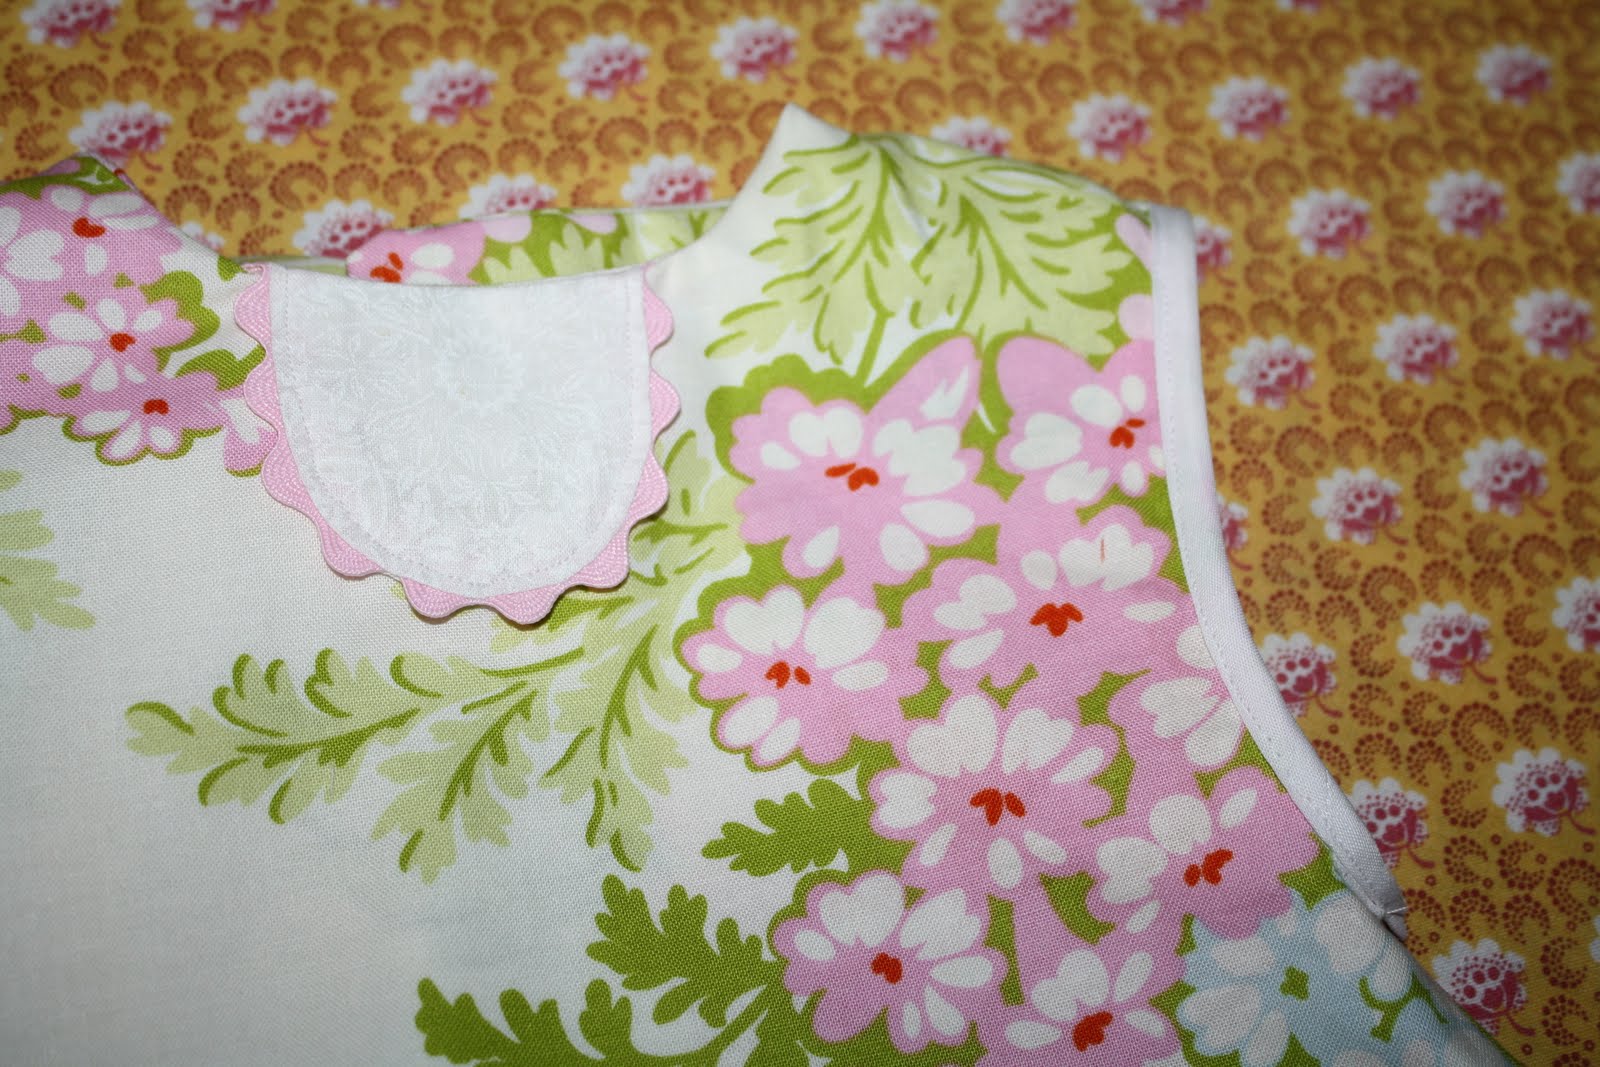
3; Now working on the right side of the swing top, fold the bias tape over the egde of the arm hole, bringing the bias tape from the inside to outside. (fold on this side of the bias tape should still be folded.) Stitch the edge of the bias tape around the entire arm hole. (see picture below for final arm hole done)
Repeat with other arm hole.
4; Now edge stitch around the whole outer edge of the top starting at one side of the placket and a contnues line to the other side of the placket, but do not sew over the top of the placket.

5; Mark the spots for your button holes next. I placed 3 buttons on the back of mine. First measure down an inch from the top and mark this spot for your firt butoon hole. I then measured down 1 3/4" down and marked this spot for my next button hole and measured again 1 3/4" for my third button hole. If the size you are makeing is biger you will want to add one or 2 buttons more or if the size of the top is smaller you will want to place the buttons closer toghter. ( I just marked the tops of mine because I have a button hole attachment for my sewing machine, this makes button hole so much easier!!)

Last, just add three small buttons to the front of your placket, and your done!

This top looks great with a pair of little ruffled bloomers under or even a pair of cuffed shorts! You can add a sleeves to this top for a top for fall with a pair of paints under them too. :)


happy Sewing!
Sharon
I love the placket detail on the front. Great tutorial!!
ReplyDelete