
Welcome to our Third and final day of the Bitty Beatrix Sew Along!! Today we will finish sewing this cute blouse up. We will tackle sewing the arm opening, I love this clever way Theresa wrote this pattern for this part! So lets get started!!
**First before we start be sure to read all directions of the pattern first.**
1. This step is something I do myself and is not in the pattern. I serge the edges of both the front and back bodice lining pieces. Do not rim off any of the pieces, I just finished the edges.

2. Now onto the closing the arm holes. I have lots of pictures for these steps so if you fins it tricky I hope this help. Take the left side of the bodice. Separate the lining part from the main and open up with the right side of the main/lining bodice up. (see picture below)

When you open up the bodice pieces lay the ruffle sleeve facing in towards the center seam.

3. Now take the right bodice arm opening piece and roll it over to the left side and place it the right side in the center of the left. (Be sure that the right side is rolled up nicely so you are sure not to stitch it)

4. Now take the un-sewn edges of the left side and then place right sides together (with the right side still rolled up in the center) and pin the raw.

Stitch together. trim sewn edges well them turn right side out.

Press well then Repeat with second side.

5. Sew two rows of gathering stitches to the top skirt. Gather the threads to fit the bottom of the front bodice and pin only to the main front bodice. (be sure to pull the lining bodice out of the way. Sew together then press the seam up towards the bodice.

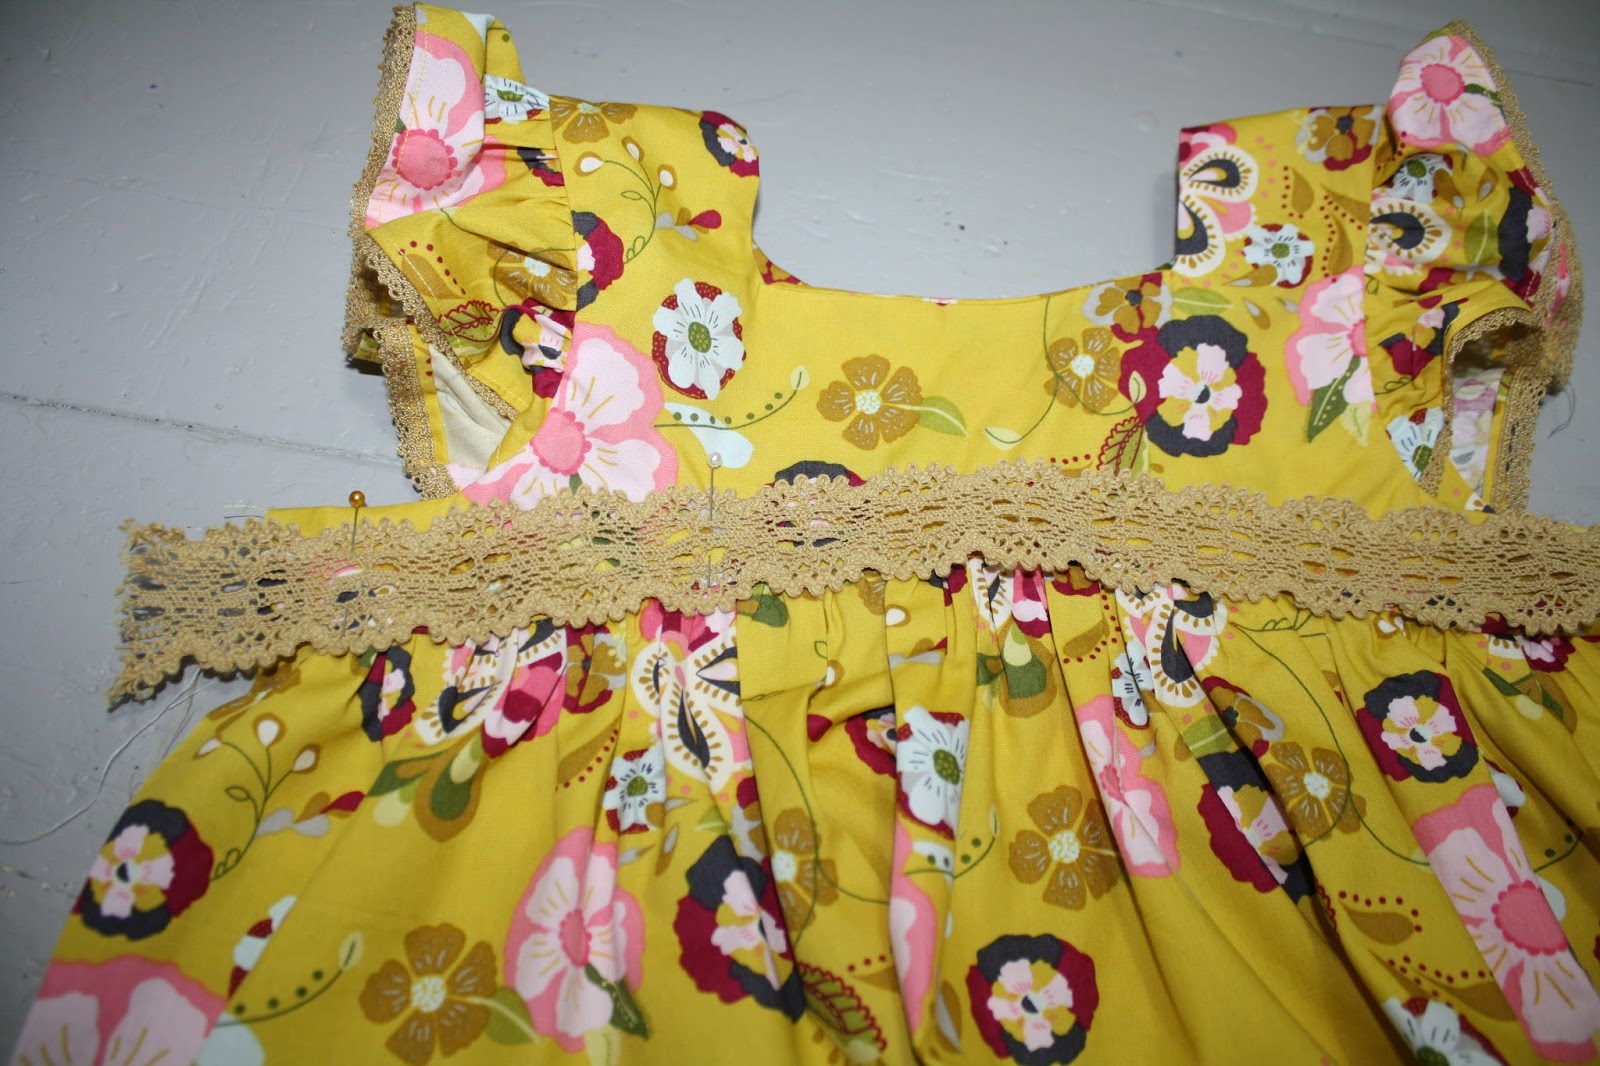
6. If you are adding lace trim sew it on at this point. I take my lace first and press it in a curve with a steam iron to better shape it into the bodice curve. Then pin onto the front bodice with the bottom of the lace just over the bottom of the top bodice edge. Stitch on both top and bottom edge of the lace in place. (I also leave a bit of the lace over hanging either side on this step.)
7. Take the front and back bodice and pin them together with right sides facing, including the lining bodices. Stitch then finish the raw edge. Repeat with second side. Press side seams and then press the lining bodice into place in the inside of the bodice.

8. Now the pattern calls for the lining to be press under a 1/4" then hand stitched into place. This is where I did mine different and as why I serge the bottom edges of the bodice linings.
I smoothed the inside bodice linings into place then pinned the main front bodice to the lining bodice.
Outside view.

Inside view.

Stitch the lining bodice in place by stitching on the right side of the bodice right over the bottom lace stitching line. If you do not have lace stitched onto your bodice then stitch in the ditch of the bodice and skirt seam.

9. To finish up the back bodice take the wears right side and measure over a 1/2" and bring the edge of the right side over a 1/2" then press. It will leave a pleat in the back of the bodice.

I just pressed mine very well and did not stitch this in place just because I love the look of the back bodice this way.

Mark the button holes according to the pattern directions then stitch. Very lastly hem the shirt with a narrow hem.

That is it, we are all done!!! Oh I also added a lace bow to the center front bodice.


I hope you had as much fun as I did! Be sure to add your finished photos to the Grammies Dolls Face Book Group!
Sharon
No comments:
Post a Comment
I would love to hear your comments