

What a week of sewing, I have be sew busy! ;) hehe I have been working on something big and sewing day and night. I can't wait to show you ladies. But now on to the the second part of the Sweet Pea Dress Tutorial!

1; first let's take the 4" strip of white fabric and press the under a 1/4".

Now measure down 1 1/2" marking this spot. Fold down towards you, press and stitch in place sewing as close to the edge as you can. (The stitching is in the front. Each pleat made we will be working on the front.The stitch line will be covered by the next pleat in line.)

For the second pleat, start a 1/2" down from the top of the first pleat. measure down 1 1/2".

Bring up 1 1/2" of fabric as shown in picture above.

Press this in place.

Now stitch this in place as the same way as the first pleat was made. Continue down until the pleating is long enough for the center of your bodice.

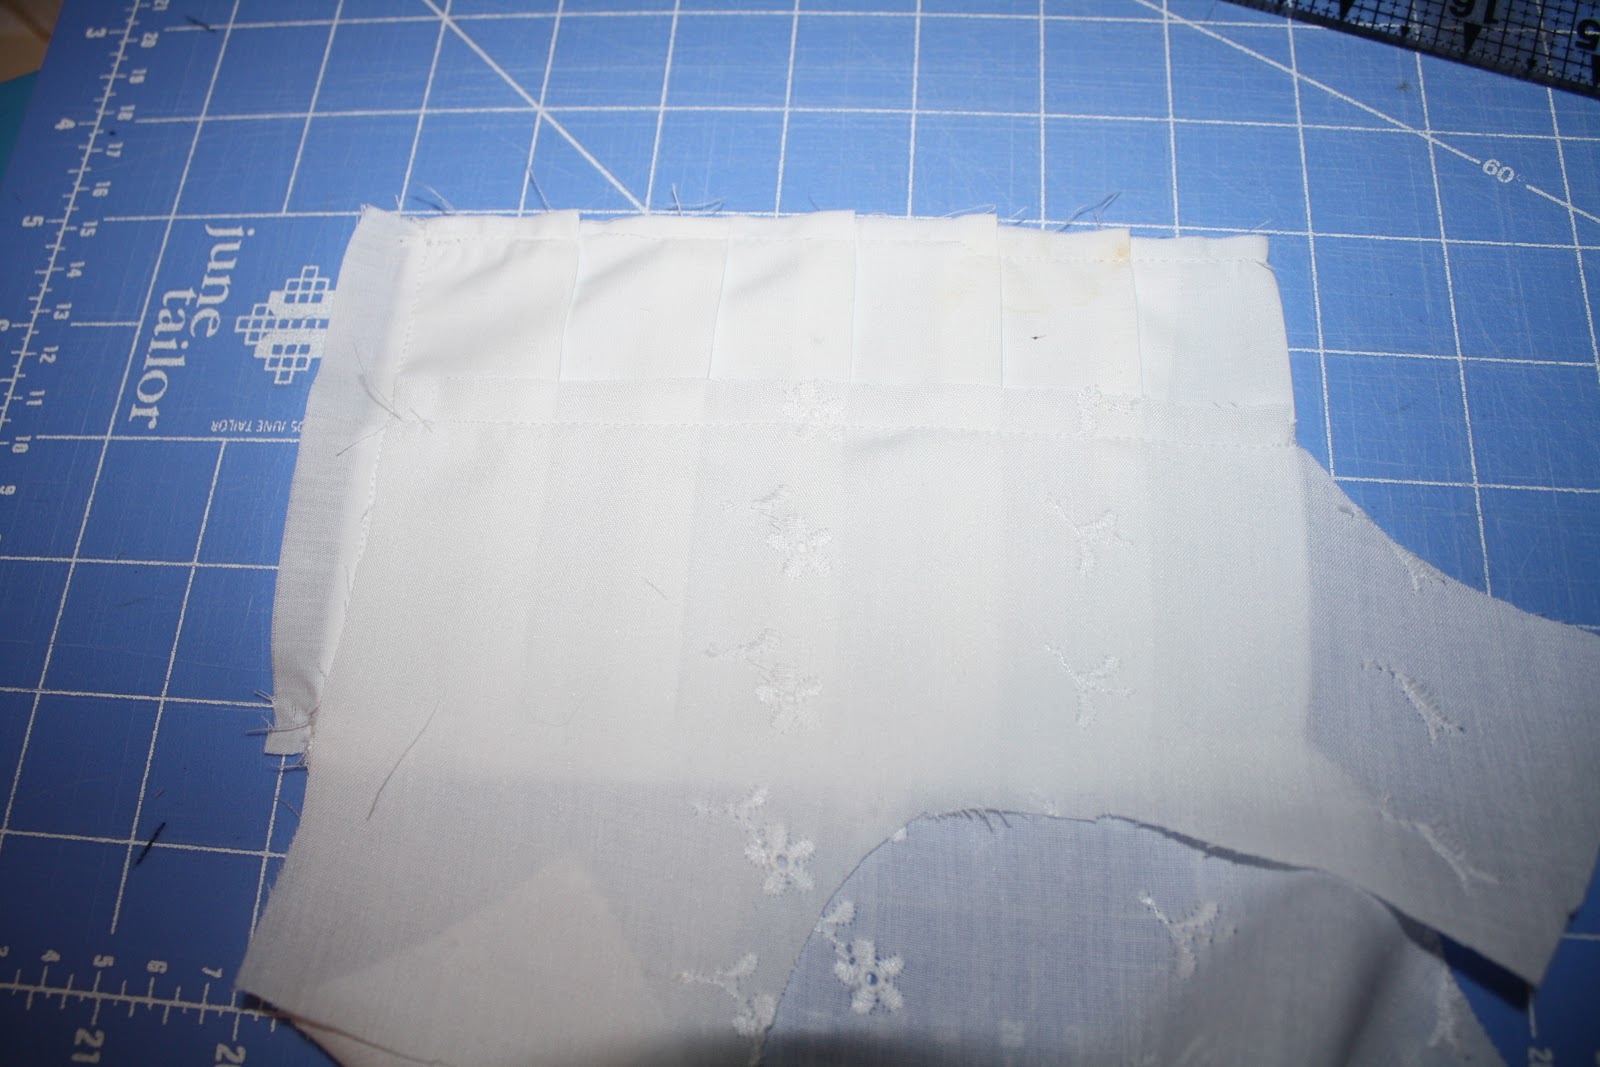
When you have made all your pleats cut off the extra fabric from the bottom. Pin the pleats in place and stitch down both sides of the pleats to hold them in place for sewing.

Step 2; Now take the front bodice pieces that you had cut.

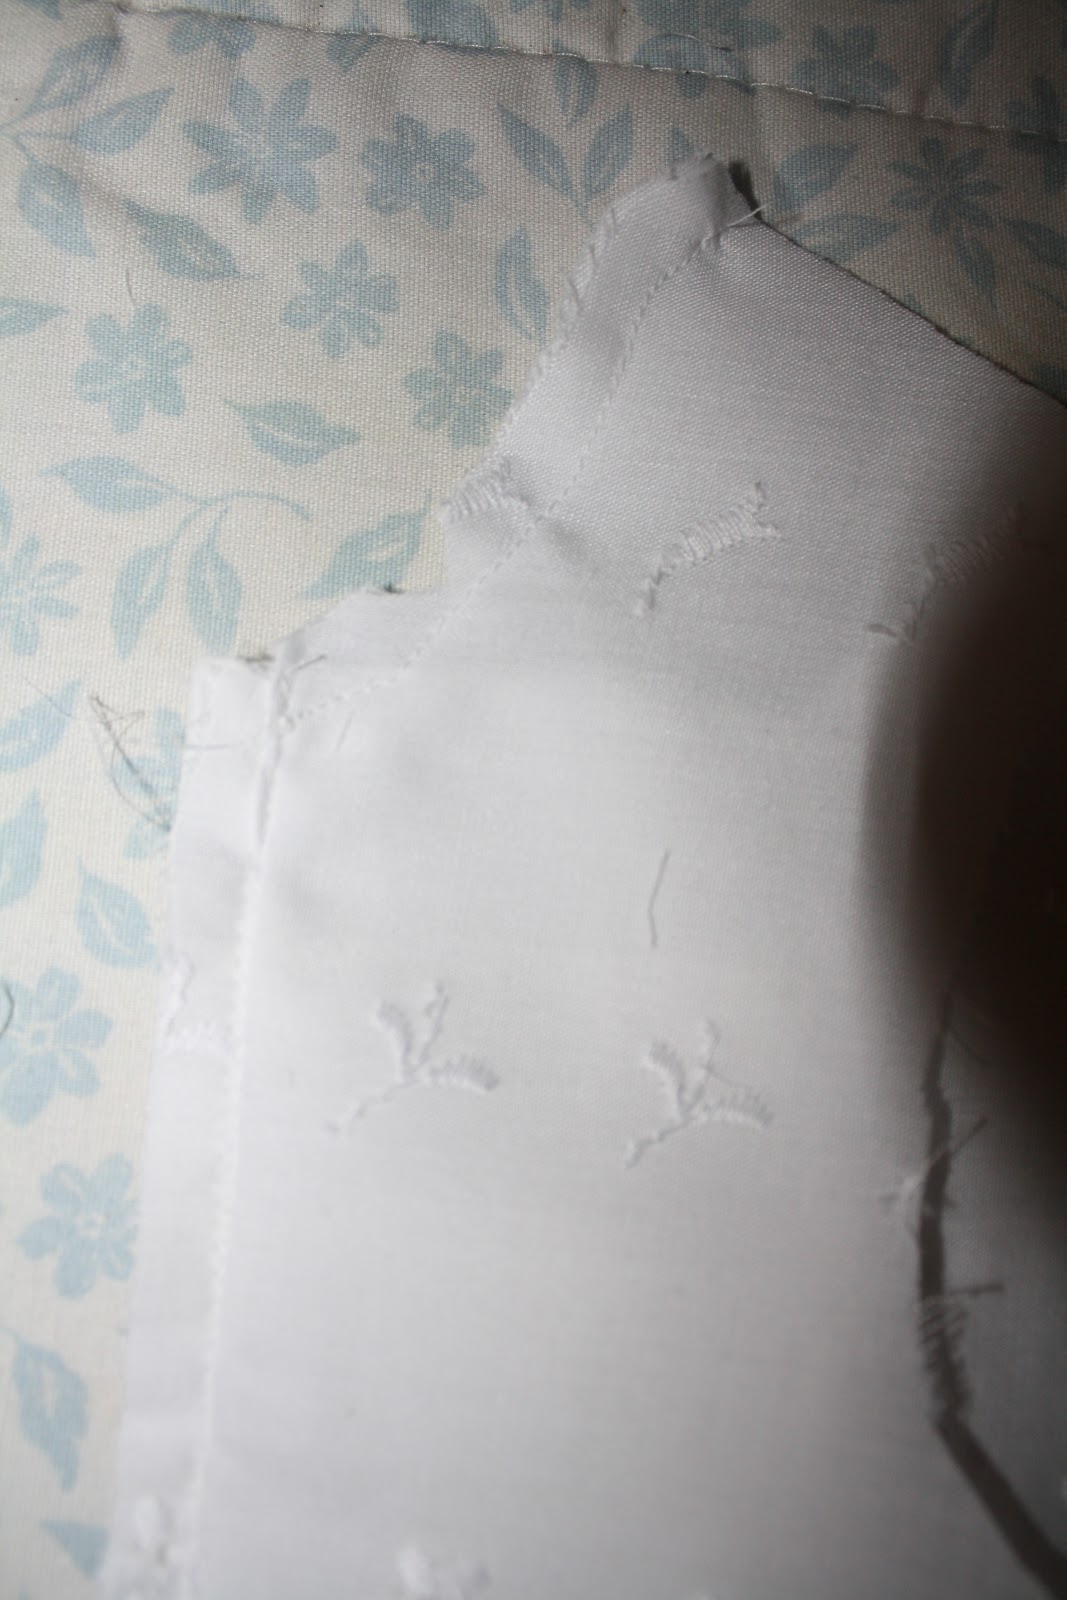
I started with the front right side. Pin the pleats in place along the edge of the front right bodice piece. Sew in place.
Now take the left side of the front bodice and measure how far you want the middle pleats to be. (mine is 2" wide so I 2 6/8" for the center pleat and the seam allowance.) Pin in place and stitch.

Cut off the extra of the pleat

Step 3; Now take the lining of the front bodice (mine is also the eye lit fabric)Take the right side and pin the bodice piece in place lining up the edging. Stitch. Flip over and repeat to other side.

** note, be sure to sew the center pleat down far enough when sewing onto the front of the bodice. The first time I had mine up a 1/4" to high and had to take the stitching out and resew it, learn form my mistake. ;)**

Step 4; Now to sew on the back bodice and lining. Working with the front of the bodice, pin the sides to the back of the bodice. ( this is the eye lit fabric and not the lining) Stitch the press open.

Now take the lining back bodice pieces and pin to the front bodice lining at the sides. Stitch then press open.

It will look like a bit of a confusing mess, don't worry it will all turn out!
Step 5; Pining very, very carefully, pin the top of the front bodice to the front bodice lining on one side. Be sure not to pin any thing else to this. Stitch in place. Repeat to the other side of the front bodice.

This is what it will look like, now press it open. ( this is where I had to take the seam riper and move my pleats down 1/4", it will lay flat if you sew it right the first time. And believe me it would have went much quicker if I had!)

Now pin only the top of the back bodice.

Stitch this in place. Do not sew down the back sides, this will be taken care of when the back of the dress sewn.

Step 6; Now open up the top of the front and the back of the right side of the shoulders. Pin them in place with matching up the center seam line. Stitch.

Now press open. repeat with other side.

Step 7; Sew around the arm holes close to the edge. This will help hold the lining in place to the eye lit fabric when the sleeves are sewn on.

Step 8; Take both sleeves and sew the sides together.

serge of zig zag stitch the to seal the raw edges. (still loving my serger!)

Flip to right side of the sleeve and run a gathering stitch around the top part of your sleeve stopping about 1 1/2" from the center stitching of the sleeve at the bottom.


Turn the bodice inside out. Pin the sleeve with the right side of the sleeve to the right side of the bodice, Match up the sleeve bottom stitch line to the bottom of the arm hole seam. Pin up a 1 1/2" on both sides sleeve bottom. Then gather up the top of the sleeve, pin in place.
Stitch the sleeve in place. When you are done sewing the sleeve in place, serge or zig zag stitch the raw edges of the sleeve. Repeat to other side.

Now you have a pretty sleeve!
Tomorrow we will be finishing up so come by for the final dress. :)
Happing Sewing!
Sharon
No comments:
Post a Comment
I would love to hear your comments